
DO IT YOURSELF (DIY) with Heritage Collector Modules
Use Your Photos, Graphics, and Content
Store photos and files in Heritage Collector to make it quick and easy to create pages and calendars.
- Everything you need and use is in one place.
- Finding the right photo will only take seconds.
- Drag photos to a storybook or calendar page.
- Drop graphic embellishments to project.
- Free form layout allows 100% flexibility.
- Edit and update pages until you like them.
Storybook Module
Create beautiful pages with photos, text and a variety of graphic embellishments.
- Unrestricted format.
- Personalization of each page.
- Personalized storybook pages.
- Unique greeting cards.
- Special birthday party invitations,
- Interactive reunion flyers
- Use different page sizes.
Calendar Module
Create many different types and sizes of personalized calendars:
- Page tops with photos and graphics.
- Date bottom with monthly dates.
- Use thumbnail image of each person.
- Add dates to days.
- Different sizes.
- Print two sided.
- Output in PDF for printing by others.

The Storybook and Calendar Apps are included with Heritage Collector
DIY Storybook Examples
Free Form Layout
There are no restrictions as to how each paged is designed.
- Resize and move photos and graphics to any position on a page.
- Select and use different fonts, sizes and colors.
- Text and graphics are placed on layers allow greater personalization and manipulation of elements.
Obituary Makeover #1
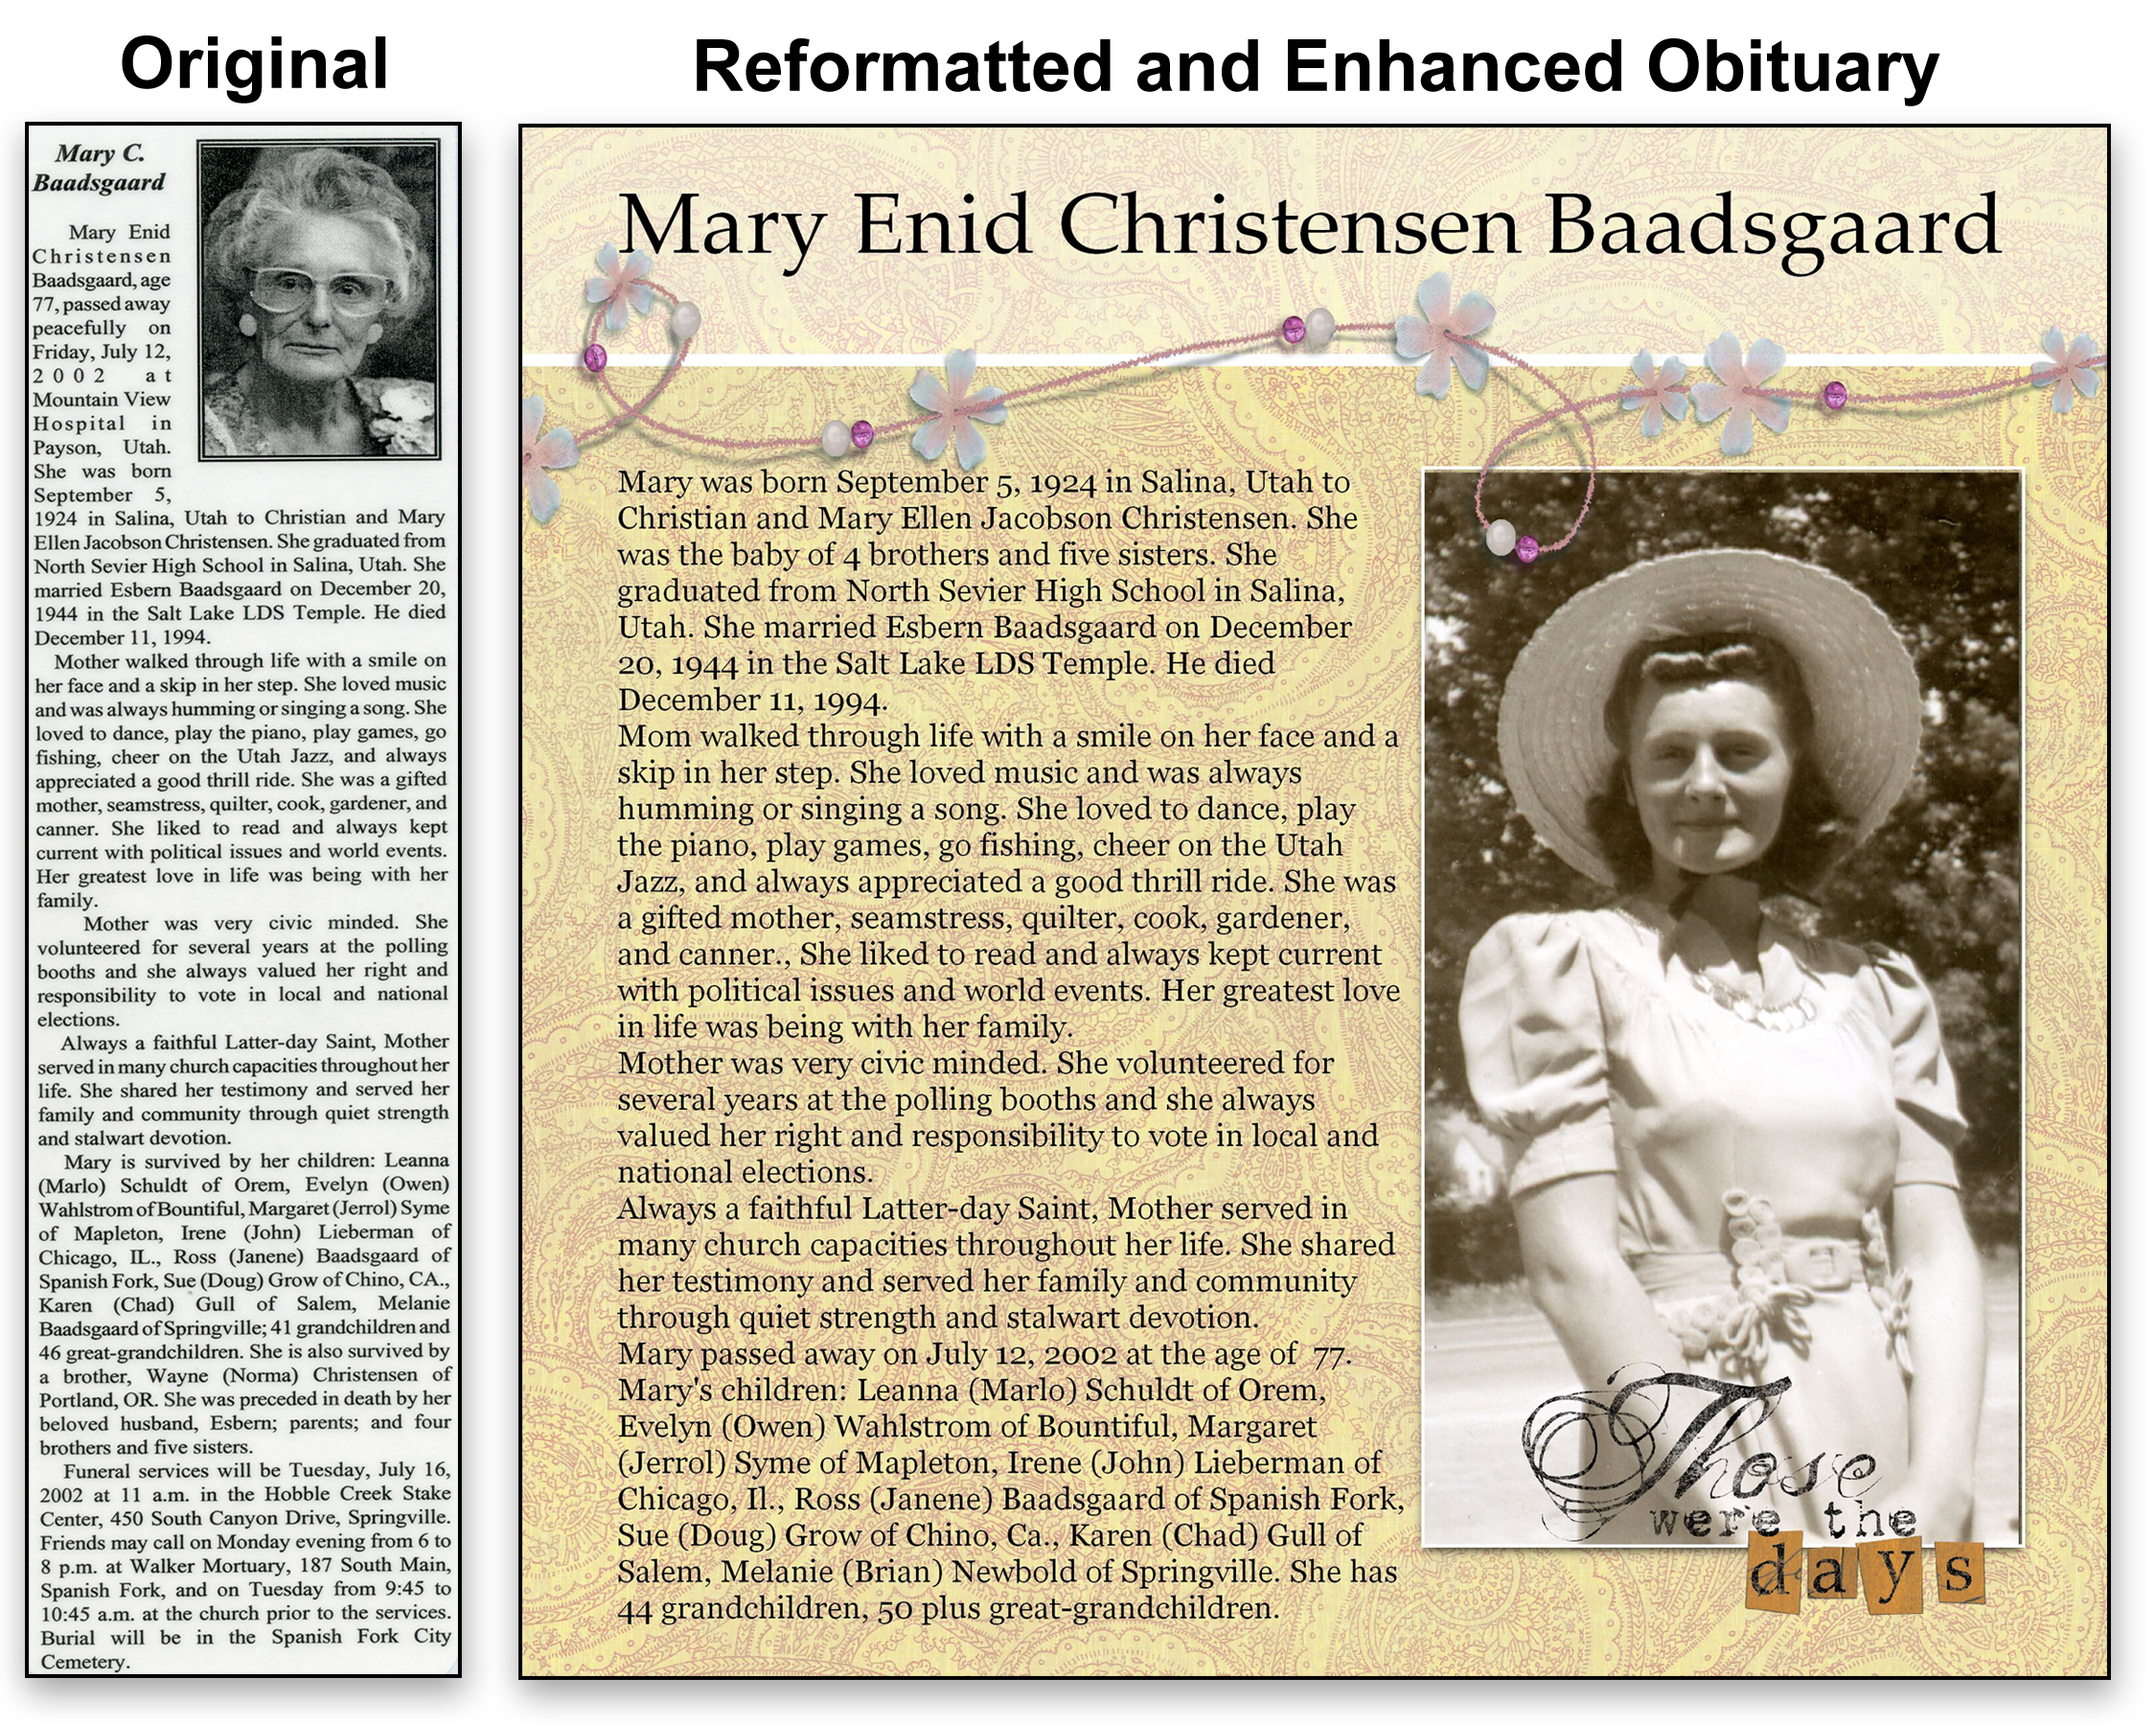
Enhancements Increase Interest and Readable
Obituaries contain a wealth of information about a person’s life. However, old newspaper clippings do not entice anyone to take the time to read it because it look old and boring.
If you writing about yourself, you would want to make it as pleasing as possible. So why not use the same objectives for reformatting an old obituary about a parent or relative.Consider the following suggestions:
- Change the background from black and white to color.
- Use a flattering photo.
- Add a large banner text for the name.
- Use graphic embellishment for interest.
- Reformat the text for readability.
- Add a nice byline such as “Those were the days.”
Which obituary would entice you to stop and read it? The black and white clipping or the full color page with the large photo?
Obituary Makeover #2
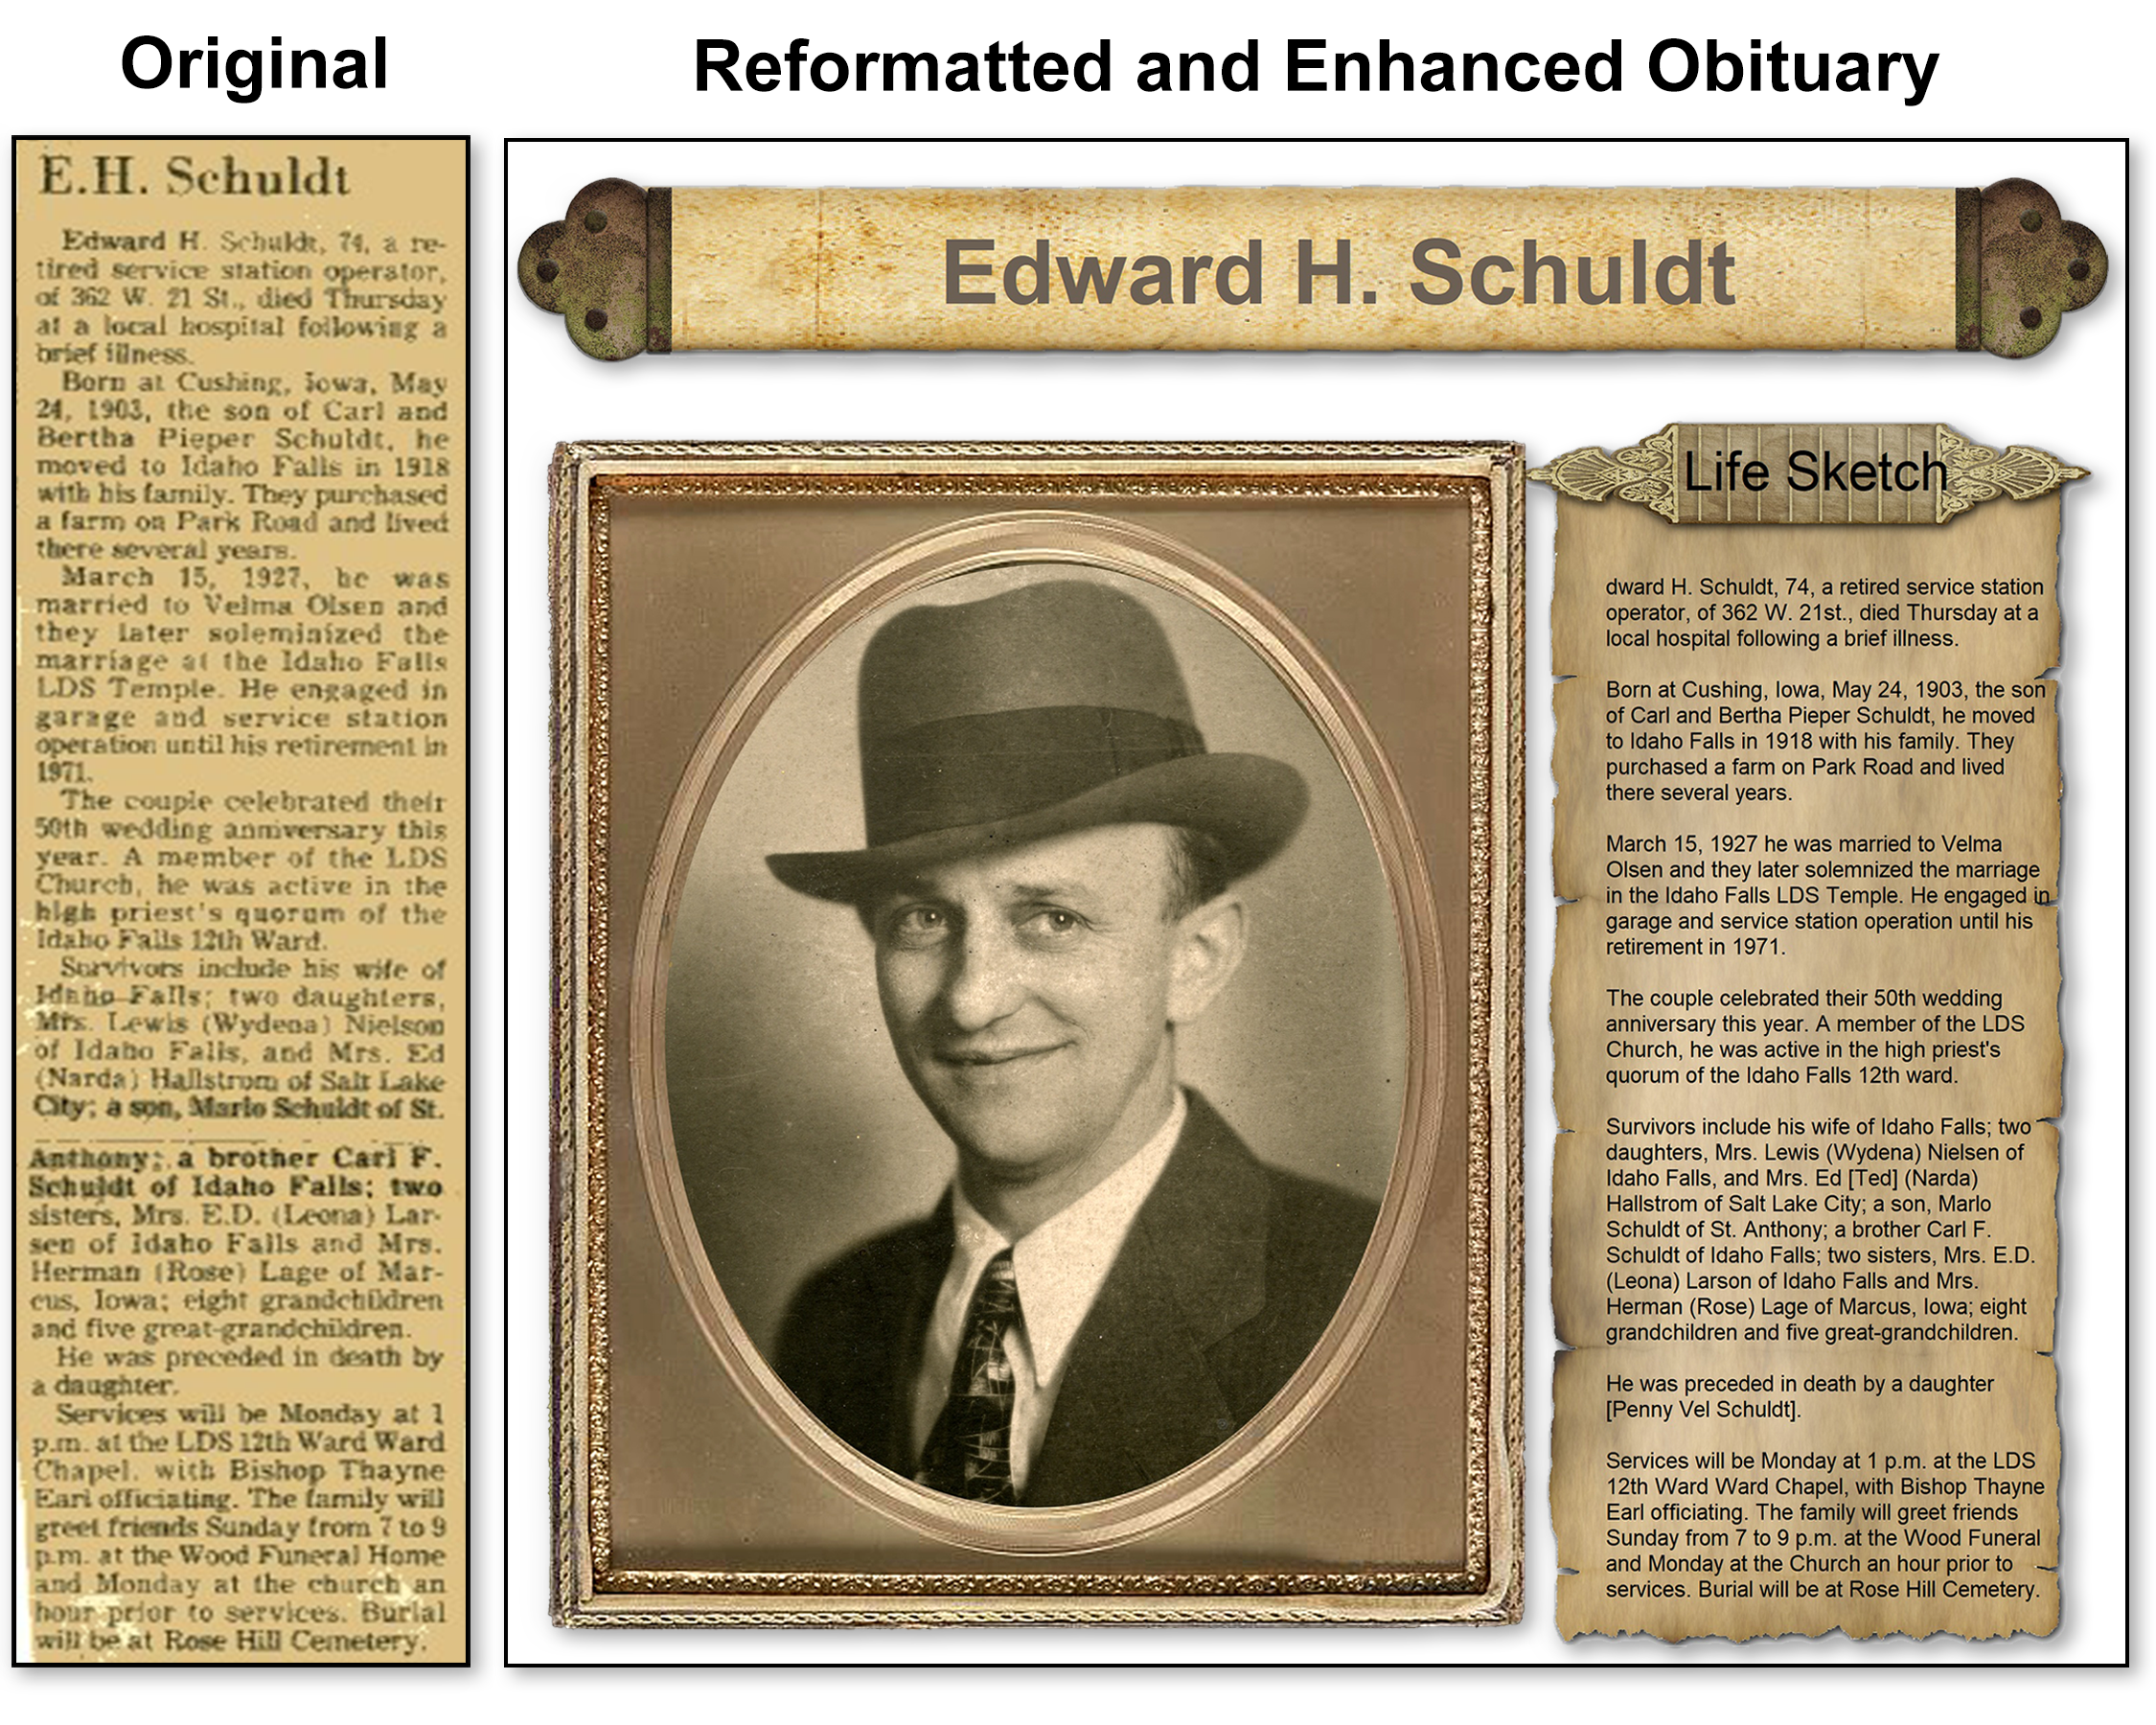
‘How To’ Use The Secret Power of Layers
This repurposed obituary contains seven objects. Each object is automatically placed on a separate layer when it was dragged from an embellishment collection to the page being created.
Elements used to make this page*

Larger text headings were added along with reformatted obituary text. The order of the layers was easily changed. For example, the frame is on a layer above the photo so the photo shows through the oval in the picture frame (photo is under the frame).
*Graphic elements do not come with Heritage Collector. Many inexpensive graphics packages can be ordered via the internet.
DIY Birthday Cards
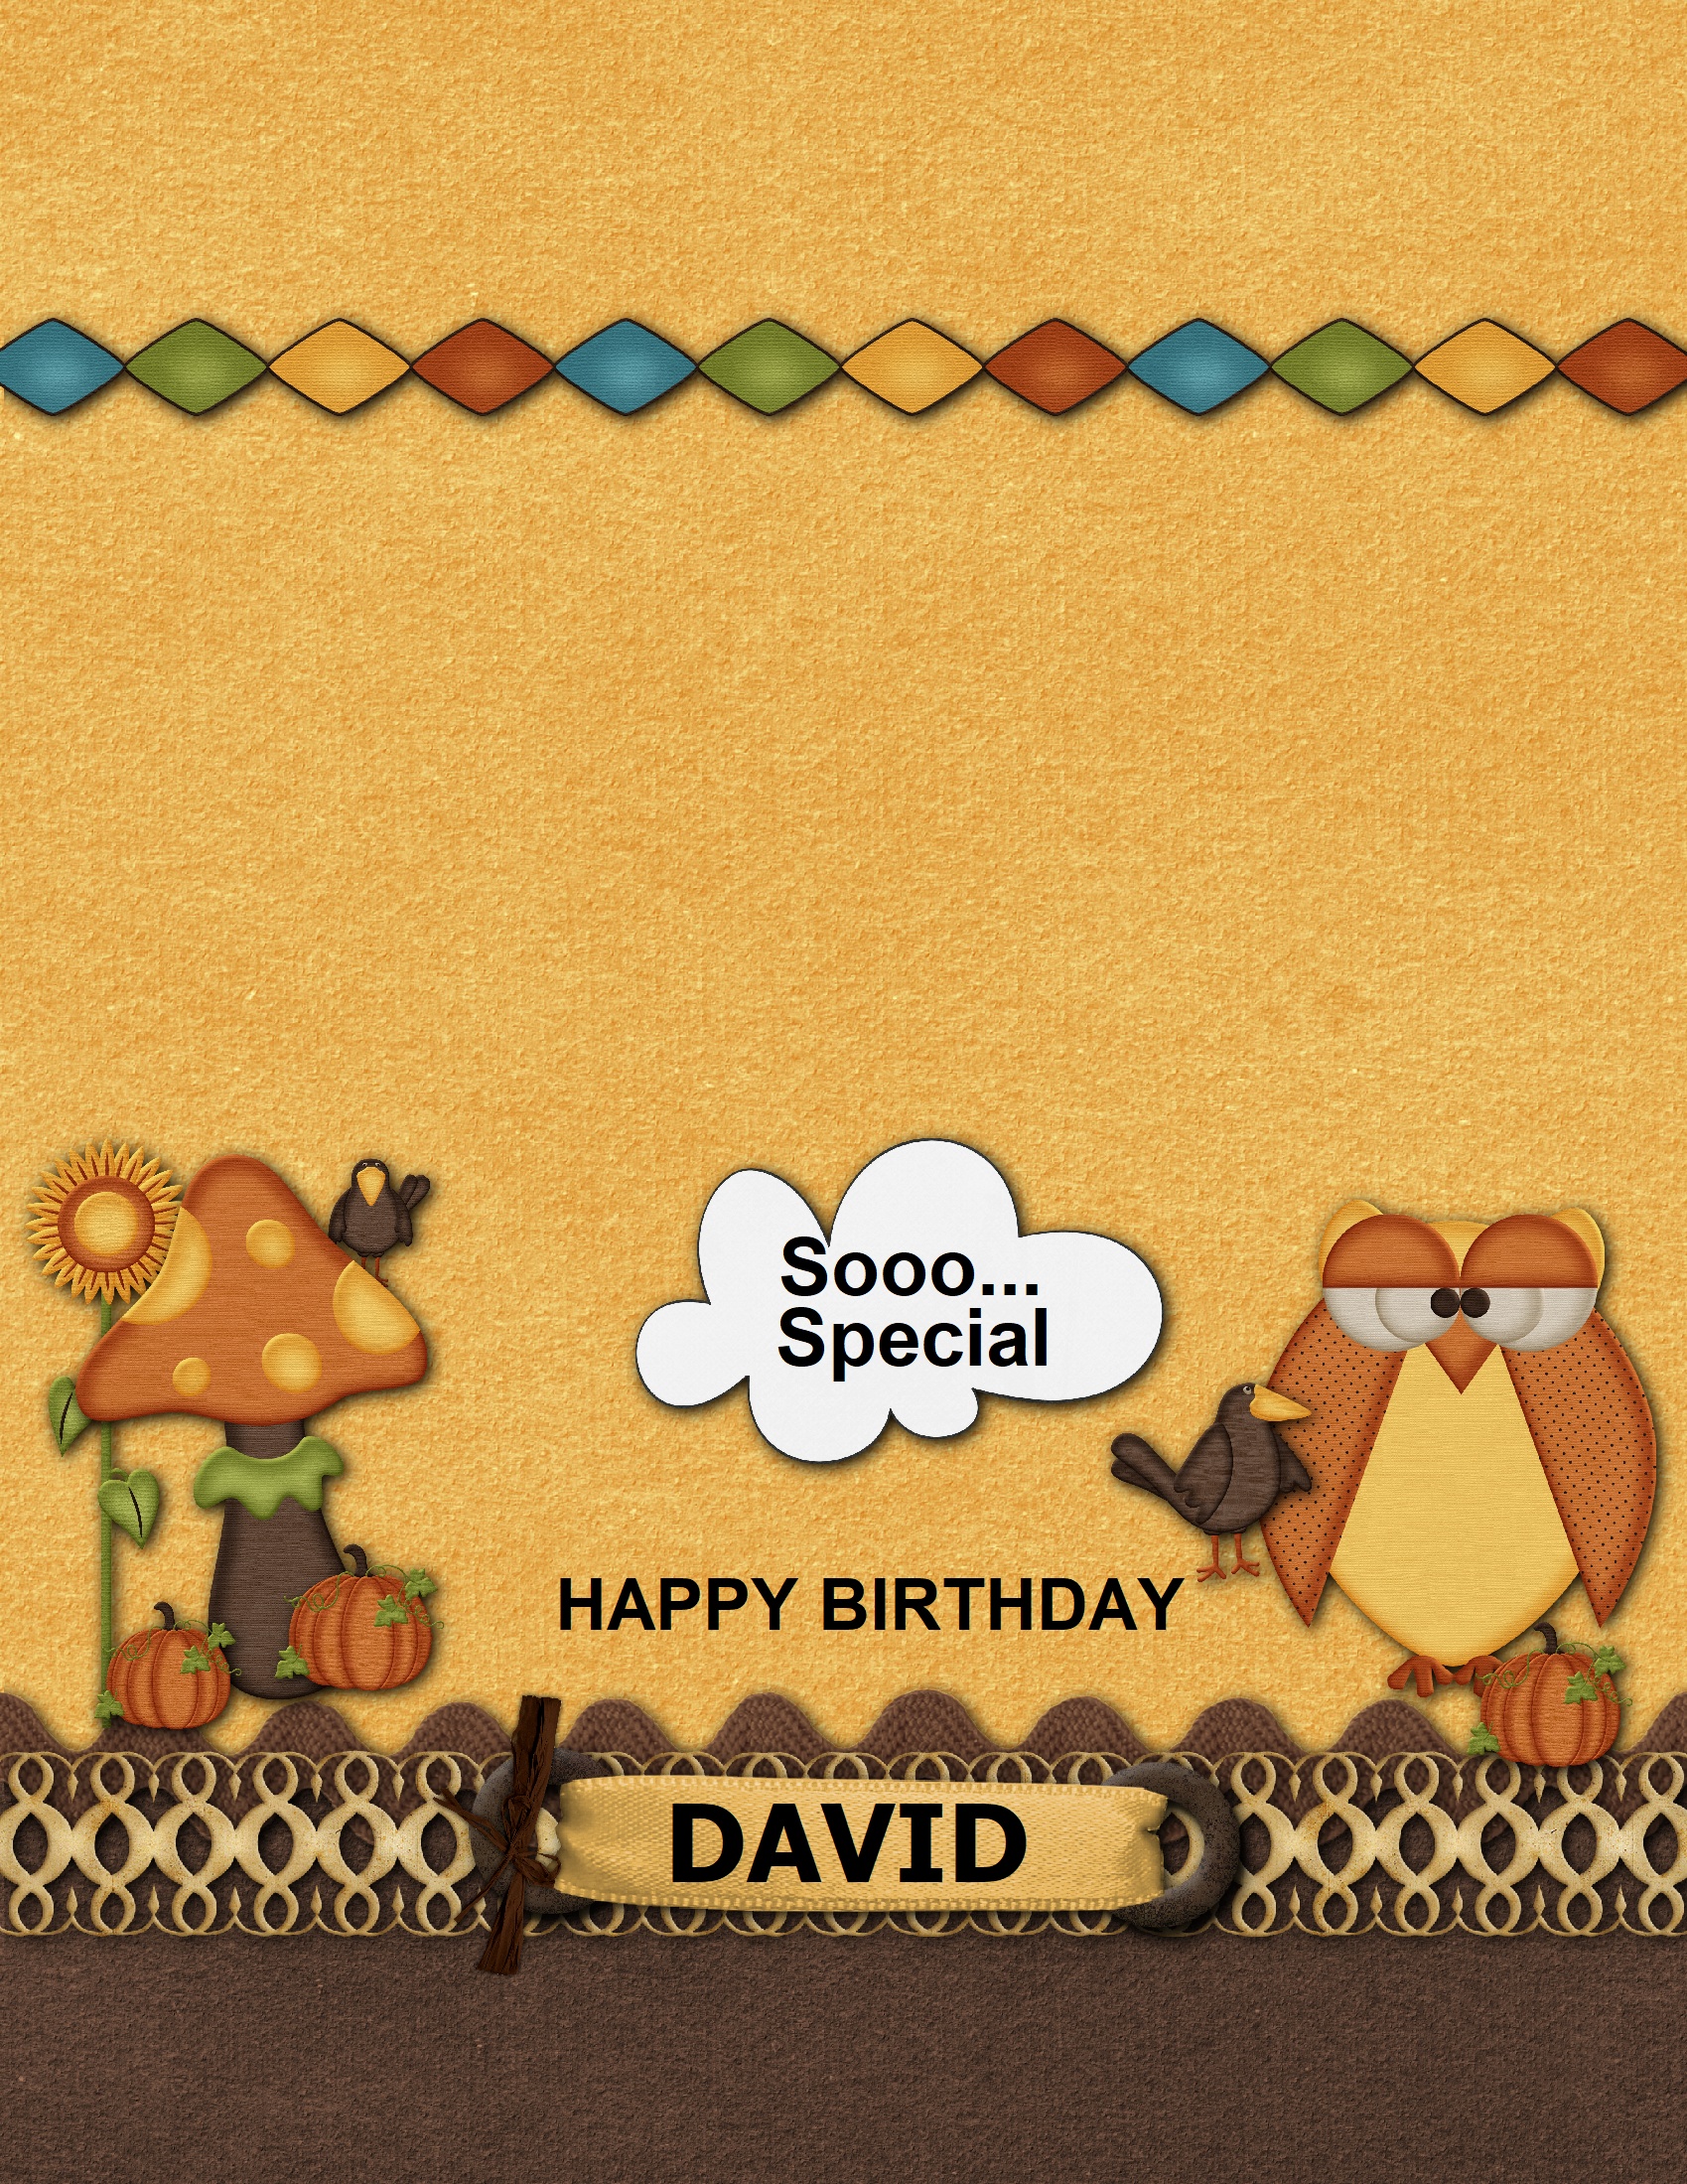
‘How To’ Add Graphic Elements
It’s fun and easy to add graphic elements to make a truly personalized, folding birthday card. Select each element from a graphics collection and then drag that embellishment to the card. Repostilion and adjust the size and add a soft shadow to each element. Finally add some text for a final personal touch.
Elements used to make this page*

Birthday Card Elements*
*Graphic elements do not come with Heritage Collector. Many inexpensive graphics packages can be ordered via the internet.
Make It Interactive!

Birthday QR Code
Add a custom QR Code to the inside of the card. When the code is scanned with a smartphone it will play a personalized Happy Birthday song or message you have created specially for them.
DIY Christmas Cards
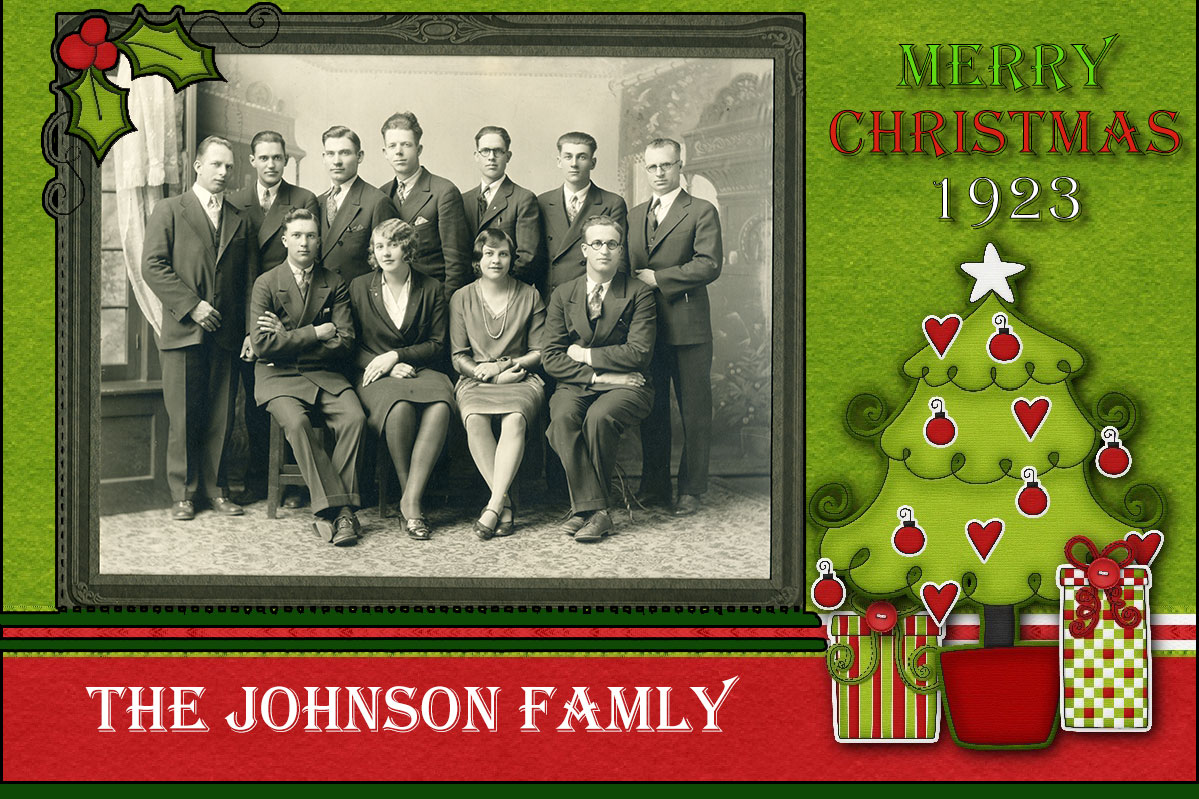
‘How To’ Add SIMPLE Graphic Elements
Use a card template to create a quick, easy, and personalized Christmas cards.
- Select and drag the card template into a storybook page.
- Drag in a family photo.
- Place the photo behind the card template so it shows through the cut out.
- Drag to resize the photo so it fits.
- Type a date, a short message, etc.
- Print and send.
- Save as a PDF and e-mail it if you procrastinated sending.
Elements used to make this page*
Personalize Christmas Cards*
*Graphic elements do not come with Heritage Collector. Many inexpensive graphics packages can be ordered via the internet.
Make It Interactive!

Birthday QR Code
Instead of writing a Christmas Letter, send everyone your voice telling them about all the great events of the past year!. When the code is scanned with a smartphone it will play your message for them to hear.
DIY Storybook Pages
‘How To’ Add SIMPLE Graphic Elements
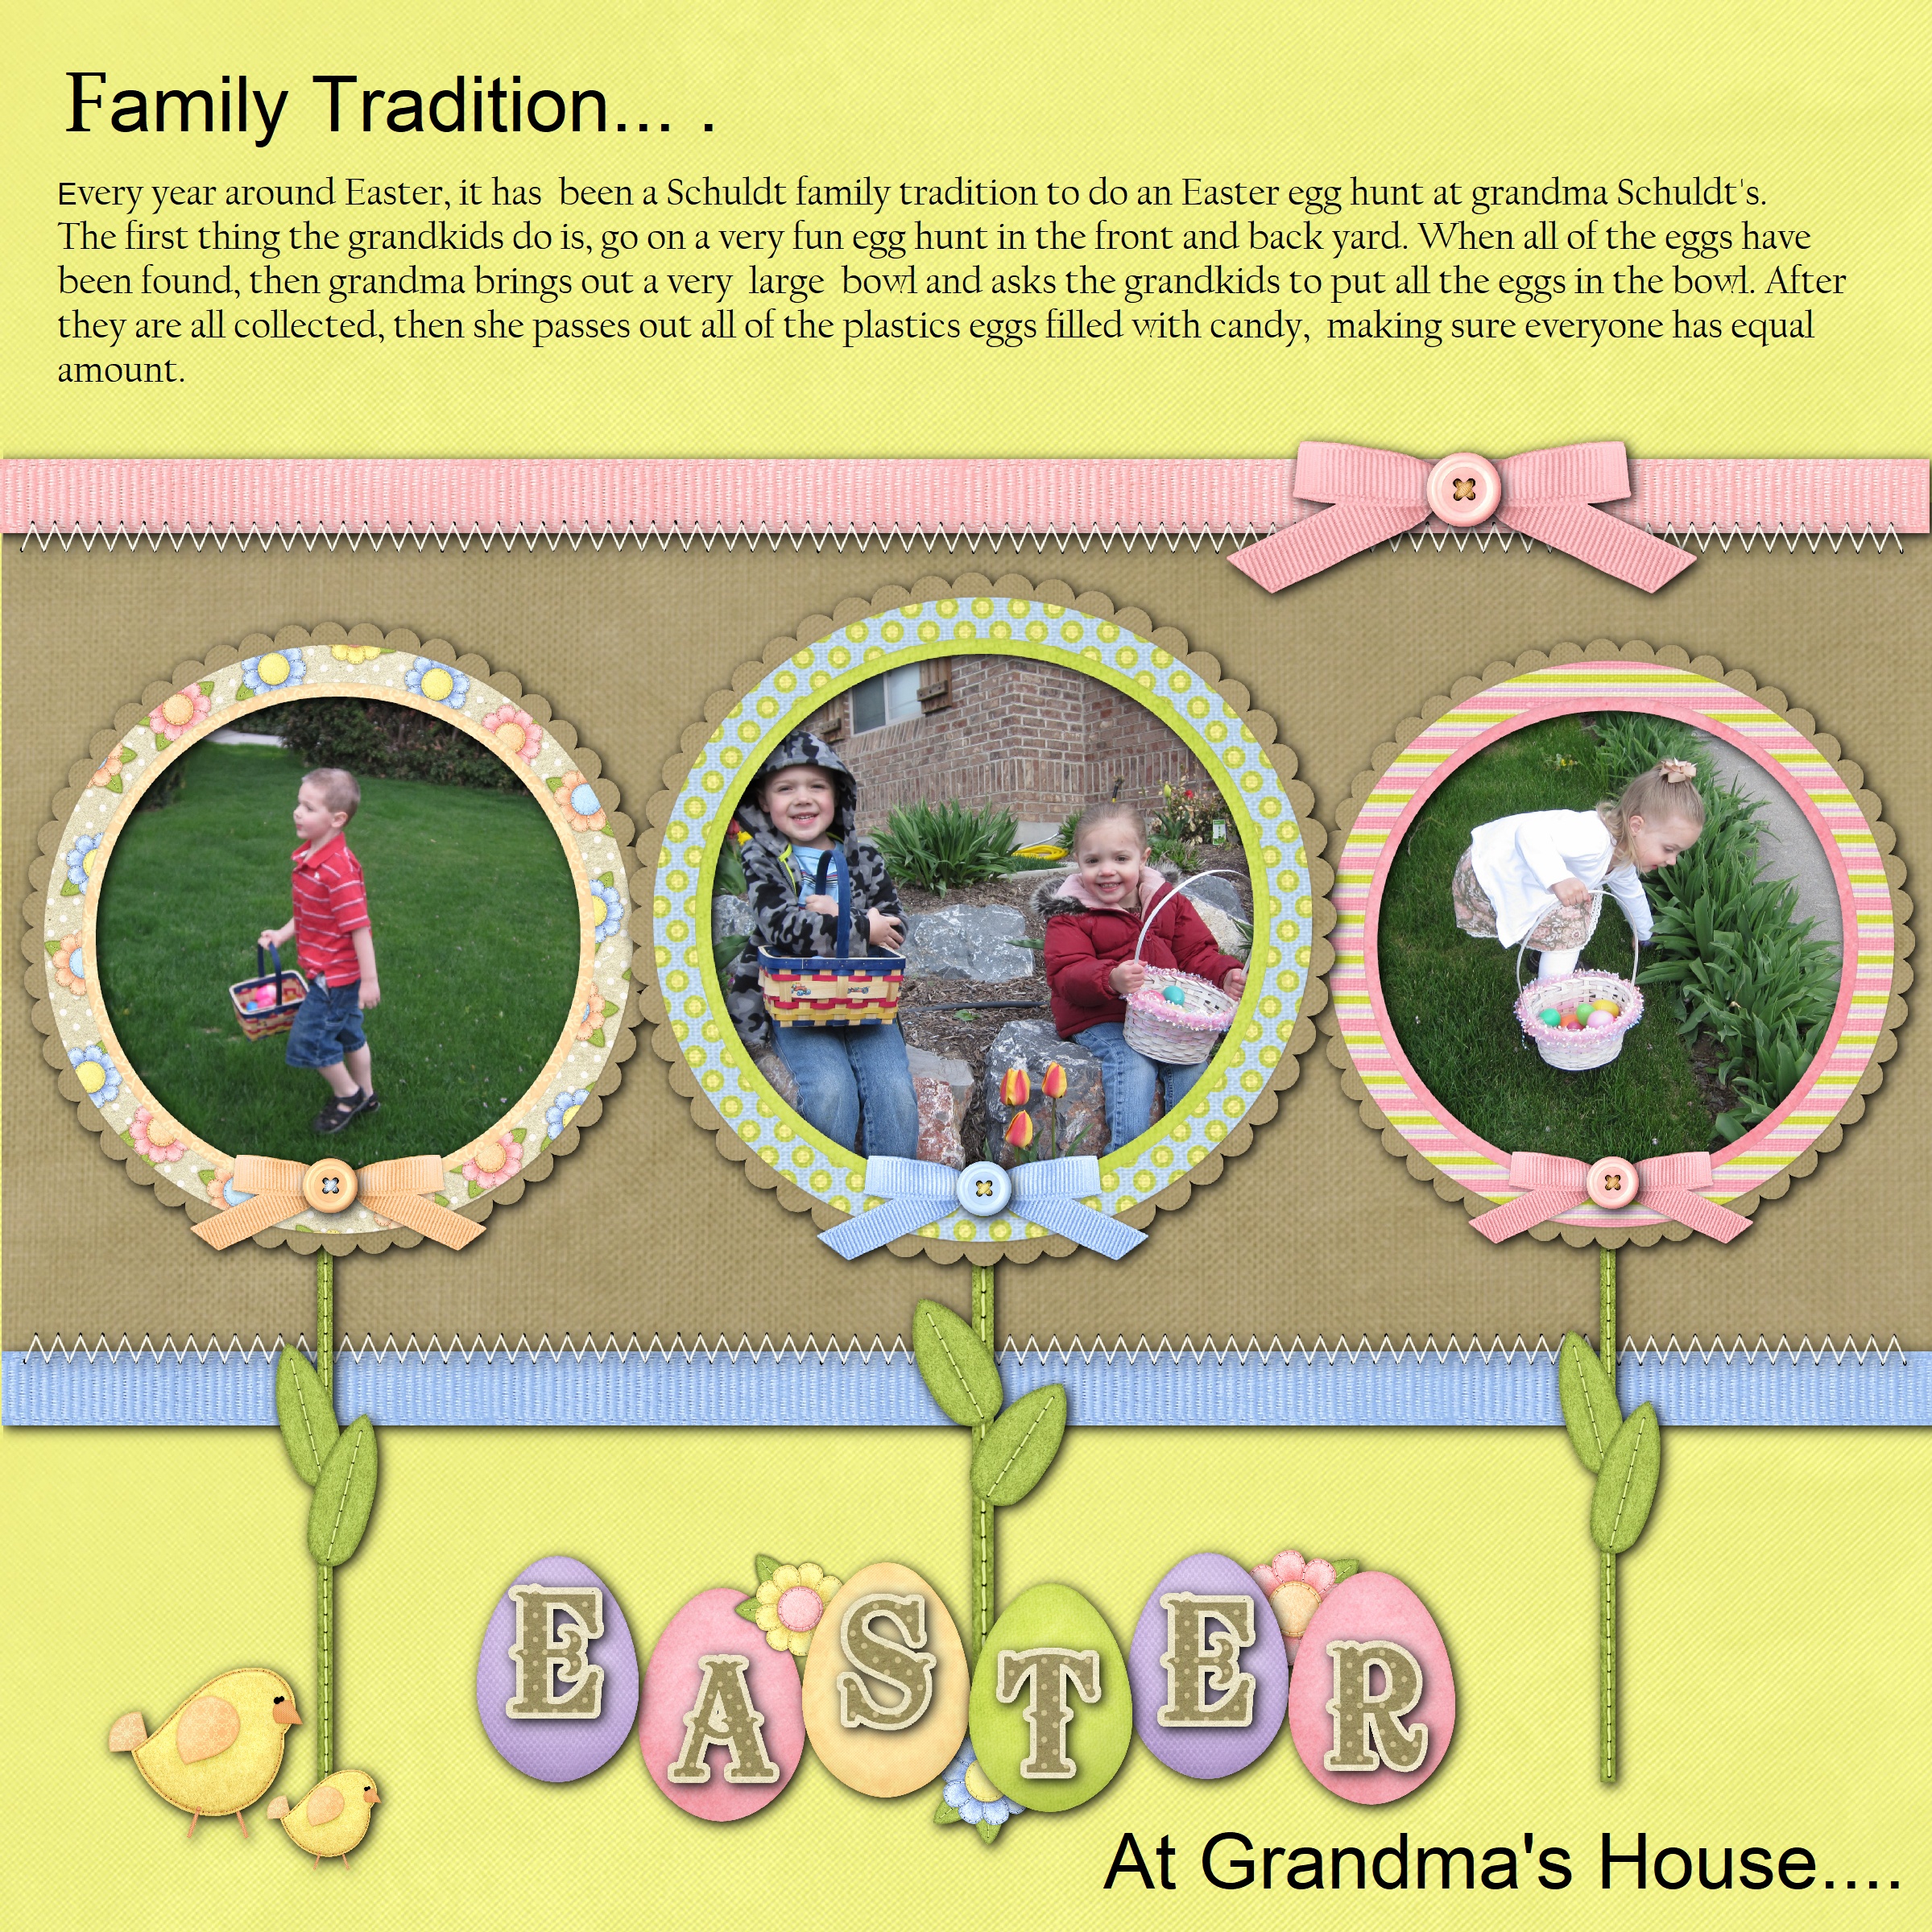
This is the card template if you are looking for a quick and easy way to create personalized storybook pages.
- Select and drag the card template into a storybook page.
- Drag in a family photo.
- Place the photo behind the card template so it shows through the cut out.
- Drag to resize the photo so it fits.
- Type a date, a short message, etc.
- Print and send.
- Save as a PDF and e-mail it if you procrastinated sending.
Elements used to make this page*

*Graphic elements do not come with Heritage Collector. Many inexpensive graphics packages can be ordered via the internet.
Make It Interactive!
Add talking hotspots to the storybook page. Place a QR codes on the page so it can play video and audio files when scanned with a smart phone.
DIY Family Calendars
‘How To’ Add SIMPLE Graphic Elements
This is the card template if you are looking for a quick, easy and personalized Christmas cards.
- Select and drag the card template into a storybook page.
- Drag in a family photo.
- Place the photo behind the card template so it shows through the cut out.
- Drag to resize the photo so it fits.
- Type a date, a short message, etc.
- Print and send.
- Save as a PDF and e-mail it if you procrastinated sending.
Elements used to make this page

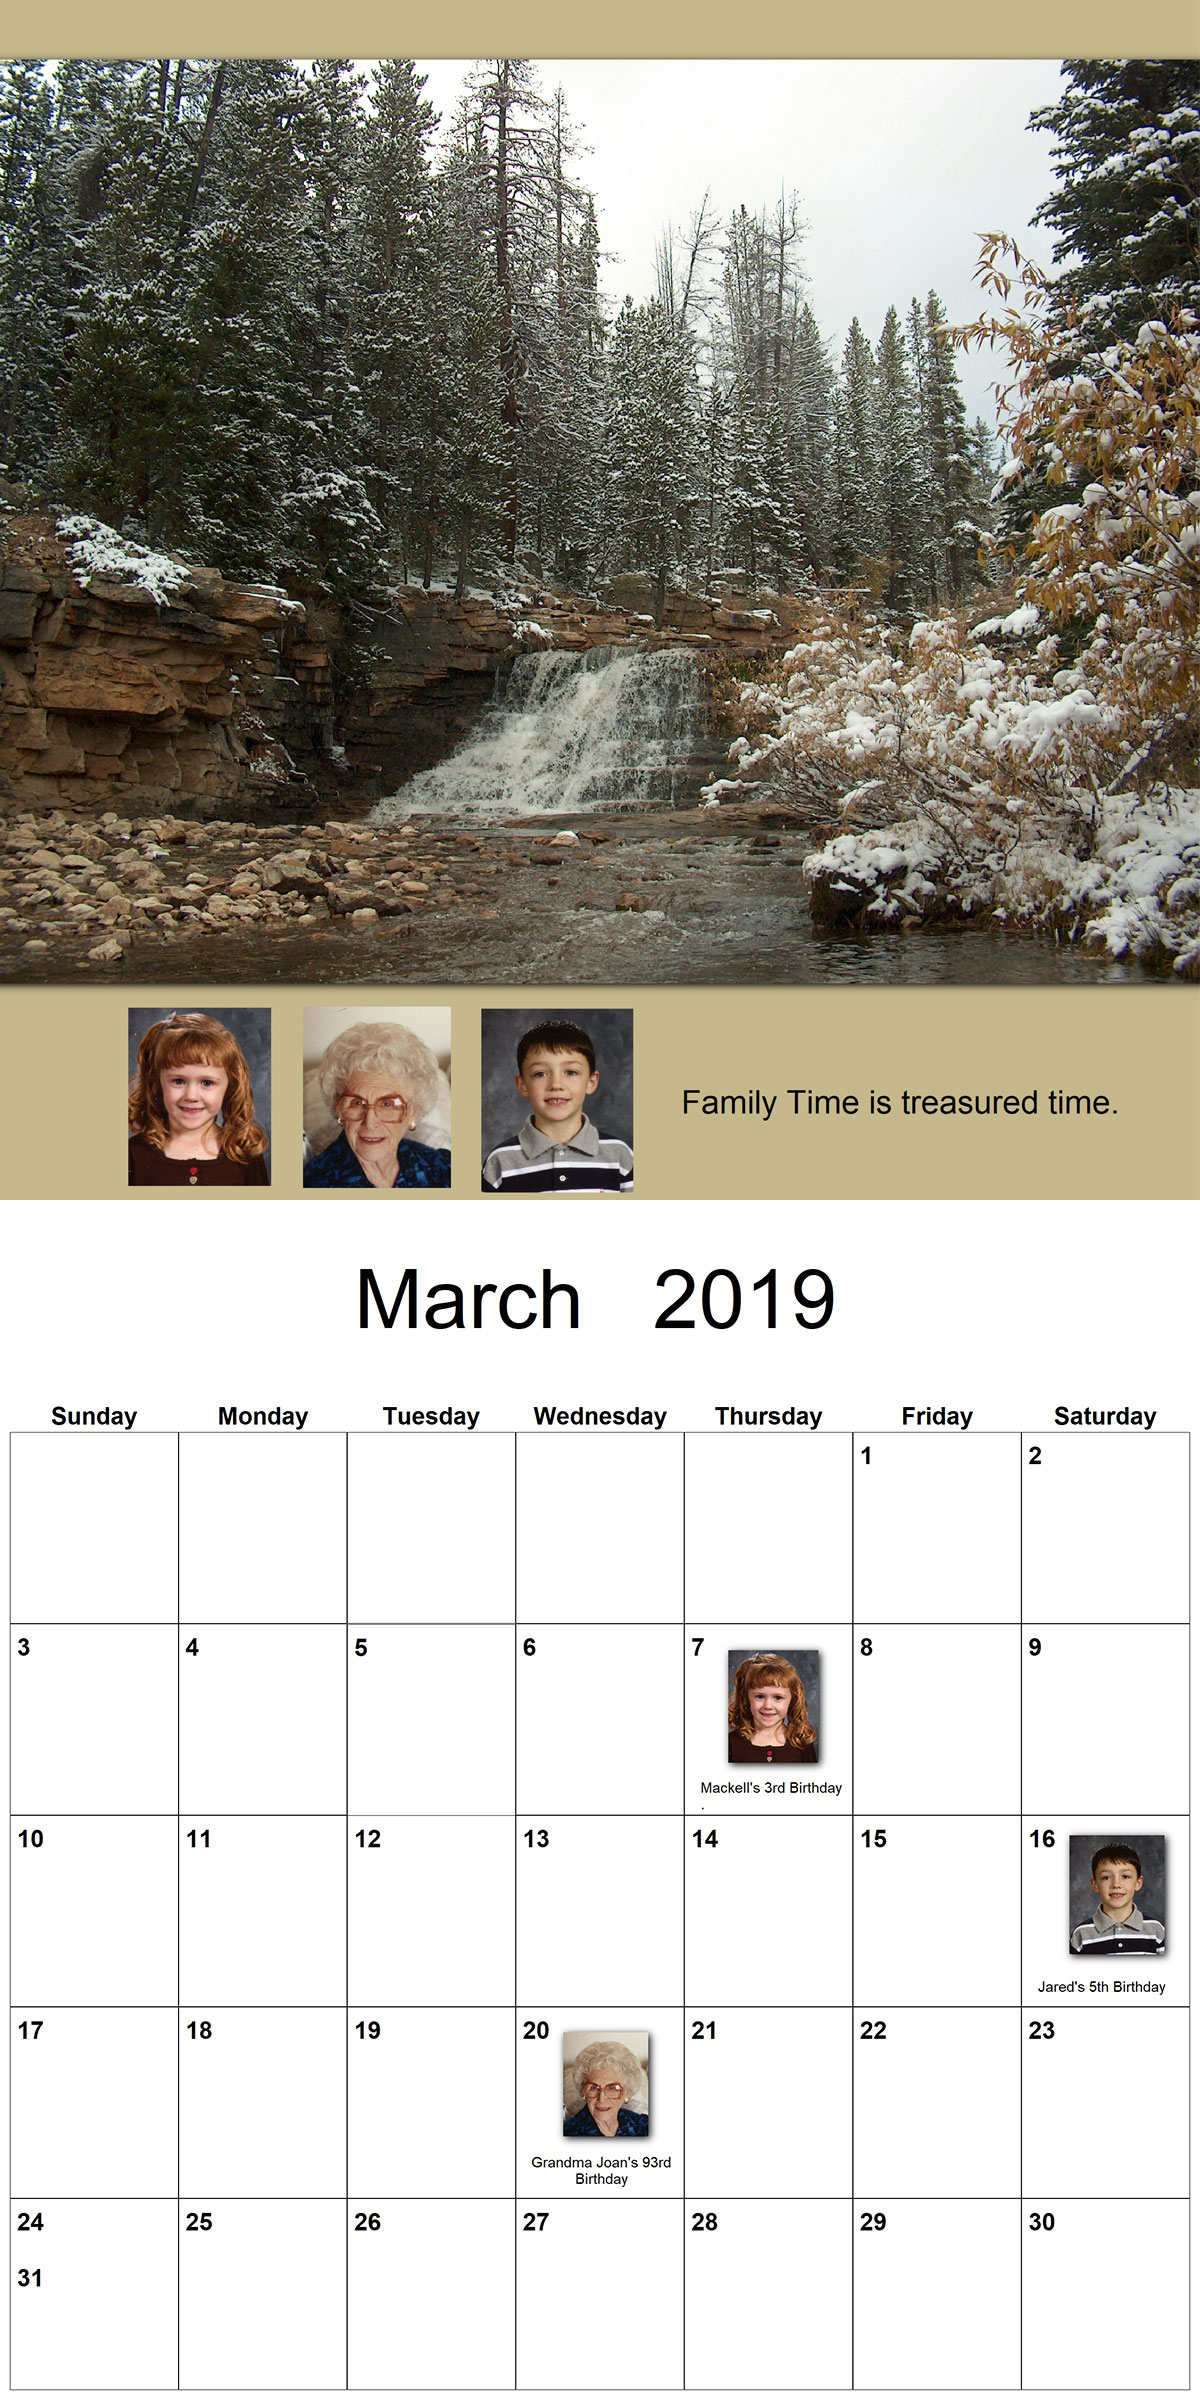
Add photos to calendar
Personalize Christmas Cards*
Graphic elements do not come with Heritage Collector. Many inexpensive graphics packages can be ordered via the internet. This Christmas card template package can be ordered from us
Make It Interactive!
Add QR codes to your calendar so it can play audio and video to add interest and information about days that are special in your family history. When the code is scanned with a smartphone it will play a video or a special message for them to hear.
